Synology OpenVPN connection from Android
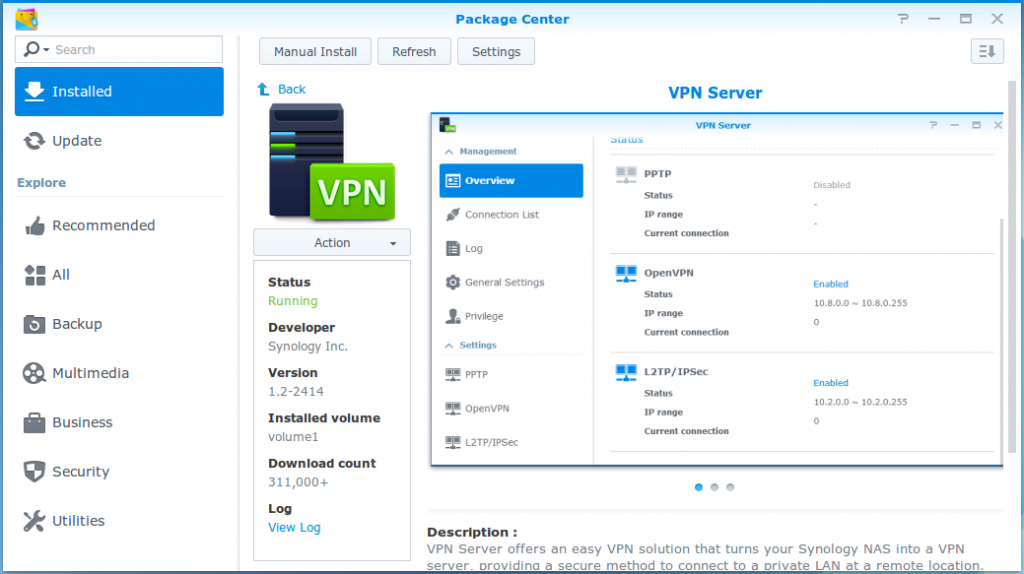
Connecting securely to your home network has always been a bit of a challenge since common home ADSL routers not normally contain any VPN Servers (those which do contain such are generally PPTP servers which I would hardly call secure these days). Which is probably a good thing as they would be horribly out of date considering the firmware release policies of retail router manufacturers. You could run/maintain your own dedicated server, but for most home networks that is overkill and out of the technical depth of most hobbyists. However NAS Appliances are becoming more useful in home networks for storage and other common tasks. I have had good experiences with Synology NAS devices over a number of years and the latest iteration also has a very useful VPN Server package available based on OpenVPN (as most Synology Apps are common Open Source components).
Server Requirements
This is a very straight forward procedure via the Synology Web UI (http://www.synology.com/en-uk/support/tutorials/459#t3.2)
- Installing the VPN Server via Synology Package Manager
- Enabling OpenVPN Server
- Export the certificate using the button “Export configuration” (openvpn.zip) and extract the CA Certificate file (ca.crt)
- Forward UDP Port 1194 from your modem/router to the Synology NAS
- Make sure your Diskstation user account has OpenVPN privileges
Android Client Configuration
This part turned out a little more difficult than I expected. Initially I tried the “OpenVPN Connect” app by OpenVPN.net the makers of OpenVPN. However this seems to have no facility to edit the configuration and would not work at all from the imported config file.
The OpenVPN client that works well for me is OpenVPN for Android (https://play.google.com/store/apps/details?id=de.blinkt.openvpn)
- Transfer the CA Certificate (ca.crt) extracted in the previous step to the sdcard of your Android device
- Install the “OpenVPN for Android” app from the Google Play Store
- Open the “OpenVPN for Android” app, touch the + icon in the bottom left corner of the screen to add a profile
- Touch “Basic”
- Enter profile name and server address (Static IP Address or DynamicDNS of your modem/router)
- Touch the Select button for the CA Certificate
- Navigate to the file ca.crt on your sdcard and select the file
- Fill in the username and password of the Diskstation user with OpenVPN privileges
- Touch the back softkey or button of your phone
- Touch “IP and DNS”
- Check Override DNS settings by Server (Synology’s OpenVPN implementation currently does not support pushing servers)
- Google’s public DNS servers are the default and should work for most users)
- Touch the back softkey or button of your phone
- Touch “Authentication/Encryption”
- Uncheck Expect TLS server certificate
- Touch the back softkey or button of your phone twice to return to the app’s Profiles overview page
- Touch your profile’s name to connect (the icon with the sliders on the right allows to edit the profile)
Voila! Your Android device should now securely connect to your home network!
Comments
Be the first to comment! Reply to this post from your Mastodon/Fediverse or Bluesky account, or mention this post's URL in your reply. Your comment will appear here automatically via webmention.
Follow this blog on Mastodon at @gaggl.com@web.brid.gy or on Bluesky at @gaggl.com
