Apache Cordova development environment install on Ubuntu
Apache Cordova has very nice documentation, however as so many projects it is focused on the Windows/MacOS duopolies only. Fortunately it’s not too hard to work out the differences.

Installing dependencies
Thanks to: https://github.com/joyent/node/wiki/Installing-Node.js-via-package-manager
sudo apt-get install python-software-properties python g++ make ant openjdk-7-jre openjdk-7-jdk
Installing Android SDK
Please note: one of the problems I found was that I had some Android tools from the Ubuntu repos that were conflicting with the SDK install. It’s probably a good idea to remove them first. That might save you from a lot of headaches down the line (and time to troubleshoot).
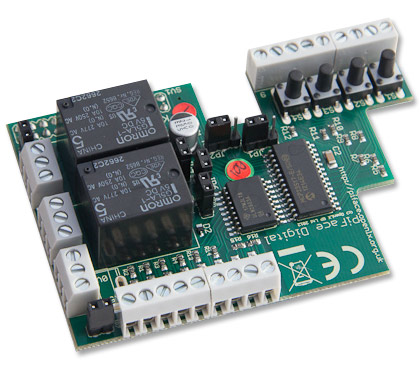
RaspberryPi real-world control with REST API
Finally found some time playing with a RaspberryPi and an attached PiFace Interface board to control some garden pumps and potentially an Aquaponics setup in the near future.
Requirements
- Raspberry Pi (Model B in my case, but any will do)
- PiFace Interface board (http://www.piface.org.uk)
Base Raspian (Debian Wheezy) Install (I prefer the clean minimal install via https://githutb.com/hifi/raspbian-ua-netins).
Configure the base system as per my previous base install.
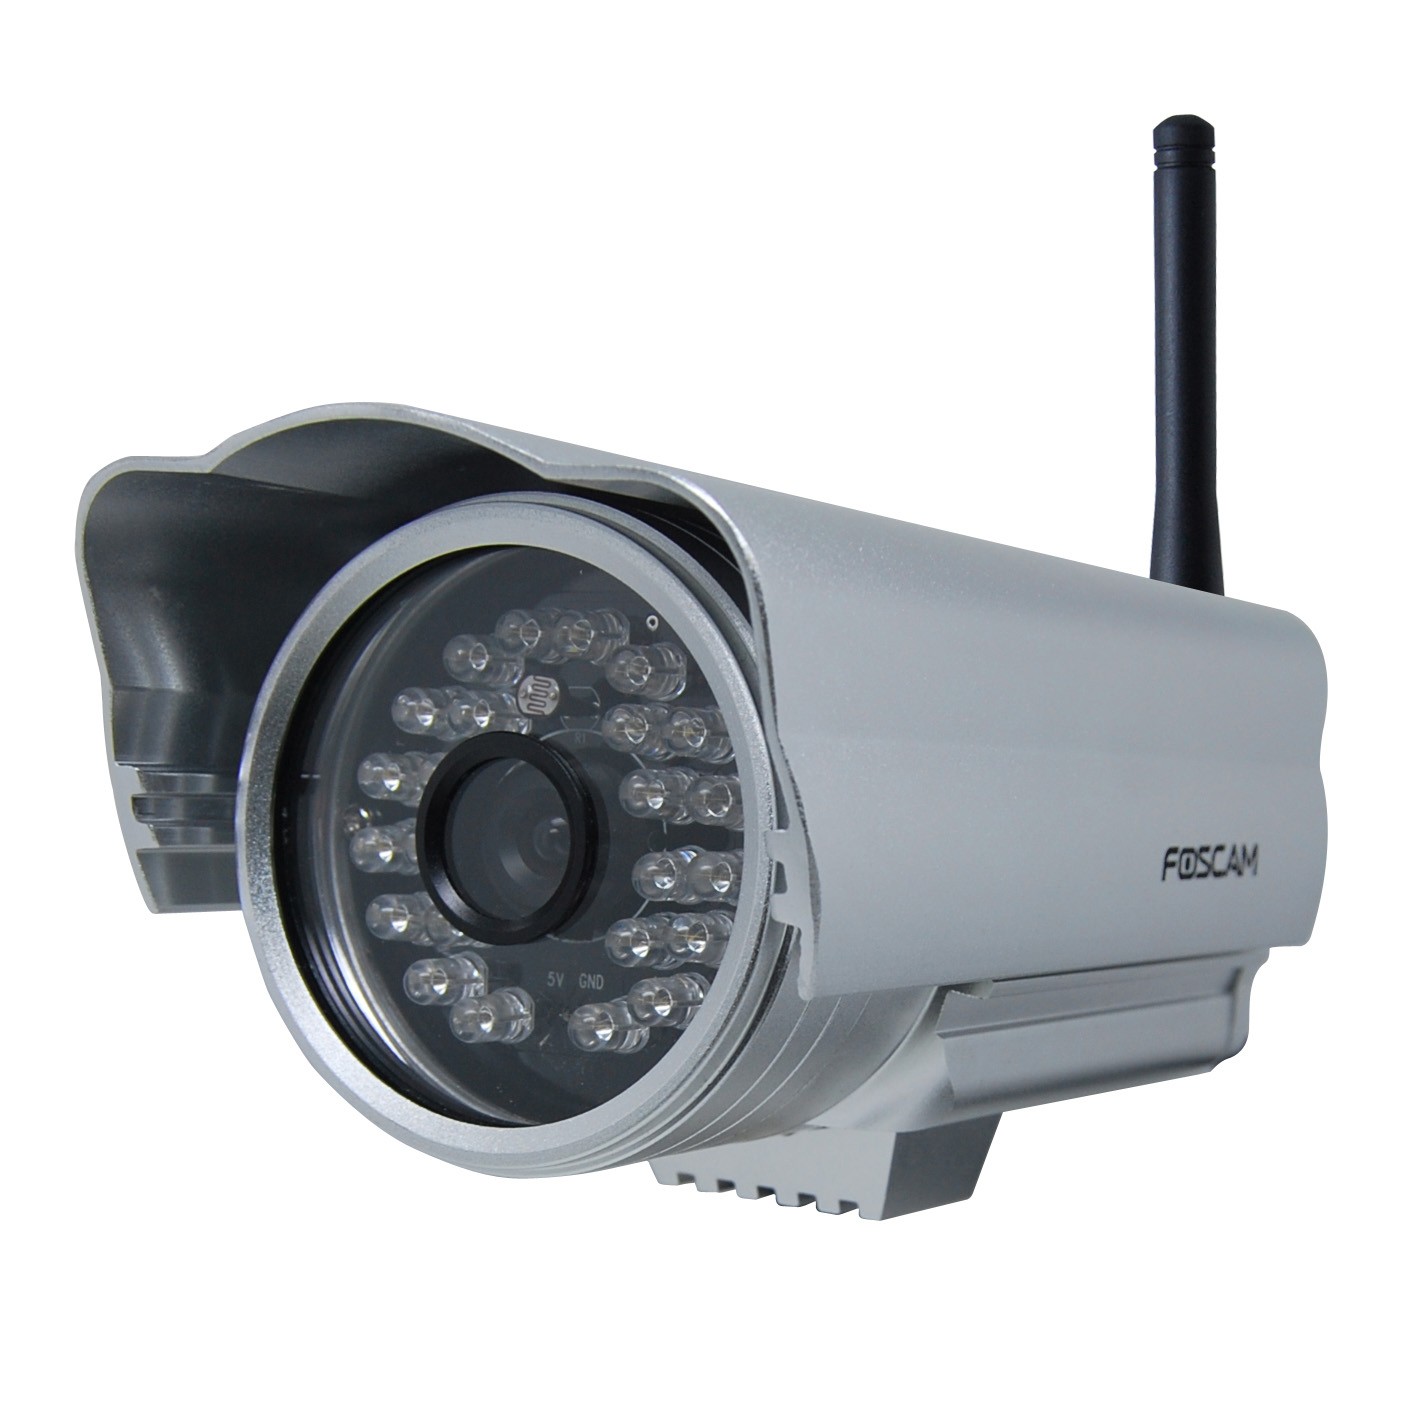
Getting Foscam IP Cameras to work from Linux (Ubuntu)
As with most hardware manufacturers of hardware Foscam utility software is Windows or Mac only. The actual unit tested with the below is a FI9805E Outdoor POE camera.
Installation
The installation is relatively painless as the unit is set up to get the IP assignment via DHCP (check your routers DHCP assignment list).
https://IP.ADDRESS.OF.CAM
should get you to the web-admin interface. The default user is ‘admin’ with no (empty) password.
Automatically posting GooglePlus articles to Twitter
I have switched most of my Social Media postings to Google+ over the last year. Despite popular opinion being that Google+ is some ‘ghost town’, I find G+ the most useful environment for my particular needs & interests (specially since the introduction of groups). It has in my experience a vastly better signal-to-noise than other social media in particular Facebook.
![]()
However I would still like to feed postings through to my Twitter stream. Unfortunately Google has (stupidly / purposely / nastily) not included RSS support to make this possible without much work. There are a few publicly accessibly services out there, but they generally are either not updated or tend to fail very frequently as they hit the API Access limits as soon as they get a few users on their services.
Edit files on remote host via SSH
Whilst most commandline editors have the ability to edit files on a remote host directly this can get messy sometimes when there are multiple files involved. Mounting the remote folder via SSHFS seems to be more reliable in practical use.
Mount
sudo apt-get install sshfs
sudo addgroup USERNAME fuse
sshfs remoteuser@remotehost:/remote/path /local/mountpath
Unmount
fusermount -u /local/mountpath
Ubuntu Touch install on Nexus 4
This is the last of a series of alternative mobile OS installs and the easiest install by a country mile !
Install
Everything is quite well documented here: https://wiki.ubuntu.com/Touch/Install.
sudo add-apt-repository ppa:phablet-team/tools
sudo apt-get update
sudo apt-get install phablet-tools android-tools-adb android-tools-fastboot
phablet-flash ubuntu-system --channel devel --bootstrap
That is it really ! This is how a OS change on a mobile should work !
Issues
Ubuntu touch can not yet handle the radio firmware past Android 4.3 devices. So if your N4 was upgraded to Android 4.4 (KitKat) you need to flash the radio to the Android 4.3 (up to Version 2.0.1700.84) else WIFI will not work.
Making VIM the default text editor on Ubuntu
In my never ending quest to find the ideal text editor here is another installment. Since I have been using VIM as my default command line editor for years I thought I give it a try for basic GUI editing as well.
![]()
Install and set desktop app & icon
sudo apt-get install
vim vim-gnome
sudo wget --output-document=/usr/share/applications/gvim.desktop https://raw.github.com/leogaggl/misc-scripts/master/gvim.desktop
sudo wget --output-document=/usr/share/icons/hicolor/scalable/apps/gvim.svg http://gfxmonk.net/images/vim-logo/vim-logo.svg
sudo update-desktop-database
Set MIME defaults
vim ~/.local/share/applications/mimeapps.list
#add or edit the following mime type and add others as needed
text/plain=gvim.desktop;
Install FirefoxOS on Nexus S (GT-9023)
I just had one of my old hand-me-down phones returned by my offspring in a great condition (junior is very careful with his equipment – well done young man !). This doesn’t happen all too often shows that the Nexus S is a decently built phone. This is also a good example of breaking the built-in obsolescence of modern phones. This particular unit has served me well for nearly 2 years (my average is one year) and served 2 kids after that.
Ubuntu 13.10 based Python/Django/WSGI setup
I am currently looking into the use of Django for one of my extra-curricular projects and needed to set up a development environment on Ubuntu. This is the log for future reference and hopefully useful for anybody needing to do the same.
Dependencies & Django Installation
Core Dependencies & Django
sudo apt-get install apache2 apache2-mpm-itk libapache2-mod-wsgi mysql-server python-django python-mysqldb
Optional add-ons
For my purposes I need a few more additional modules
Ubuntu Apache2 - run VHOST as different user
There are several reasons why you might want to run different Apache Virtual Hosts as separate users from the Apache user account. My most frequent usage is on my development machine to allow running from my home directory.
The most commonly recommended option for this purpose is MPM-ITK (a quick hack would be to add yourself to the www-data group using “sudo usermod -a -G www-data USERNAME”)
sudo apt-get install apache2-mpm-itk
sudo a2enmod mpm_itk
Modify the virtual host config file in /etc/apache2/sites-available
Re-index media files on Synology NAS servers
One of the annoying things with Synology NAS servers is the fact that a video file moved to the filesystem does not automatically appear on the DNLA share on client devices. It needs a re-index of the media files.
You can log into the HTML Admin Console and start a re-index, however this will be a full re-index and most likely take ages to complete. A quicker way is to connect to the SSH Console and issue the following command:
Installing libdvdcss on Ubuntu 13.10
With the demise of the Medibuntu repository and libdvdcss not being hosted in the main Ubuntu repos due to licensing issues a new repository is needed from 13.10 upwards. Thanks to the good folks at VideoLAN (makers of the awsome VLC Video Player) there is a ready and updated source available.
wget ftp://ftp.videolan.org/pub/debian/videolan-apt.asc | sudo apt-key add -
echo "deb ftp://ftp.videolan.org/pub/debian/stable ./" | sudo tee /etc/apt/sources.list.d/libdvdcss.list
sudo apt-get update
sudo apt-get install libdvdcss2